Taylor Made Awnings Installation Instructions

Awning Installation Instructions Taylormadeawning Com

Taylor Made Awnings Reviews Retractableawningsreviews Com

Taylor Made Retractable Awning 12 W X 8 2 L R Manual Sunbrella Walnut Brn Twd Buy Online In Cayman Islands Taylor Made Awnings Products In Cayman Islands See Prices Reviews And
Taylor Made Retractable Awning 16 W X 10 L L Manual Sunbrella Putty Regimental Buy Online In Dominica Taylor Made Awnings Products In Dominica See Prices Reviews And Free Delivery Over

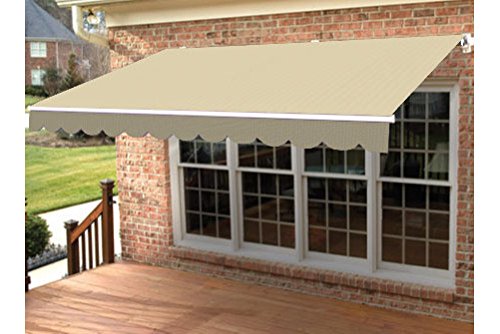
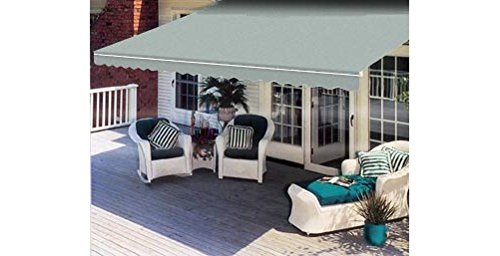
Retractable Awnings Deck Patio Awnings For Your Home

Patio Awnings Outdoor Awnings Residential Awning Canvas And Fabric Taylormadeawning Com

1 1 4 use 4 lag screw in top hole use 5 lag screw in bottom hole.
Taylor made awnings installation instructions.

Dometic 8500 Manual Awning 848
Taylor Made Retractable Awning 15 W X 10 Buy Online In Cayman Islands At Desertcart

Box Awning Camabox Bx4000 Stobag Retractable Manual Motorized

Outsunny 12 X 8 2 Outdoor Patio Manual Retractable Exterior Window Awning Wine Red Large Retractable Awning Aosom Com In 2020 Outdoor Awnings Windows Exterior Pergola Outdoor Living
Source : pinterest.com
